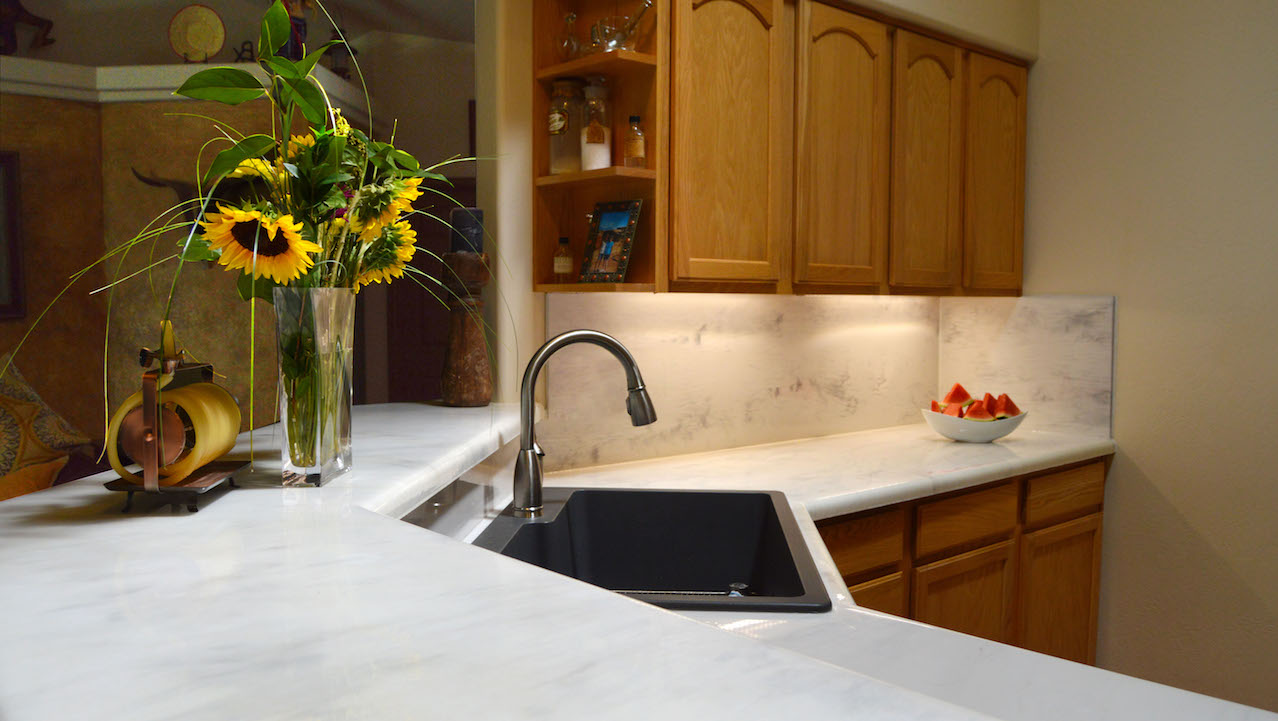
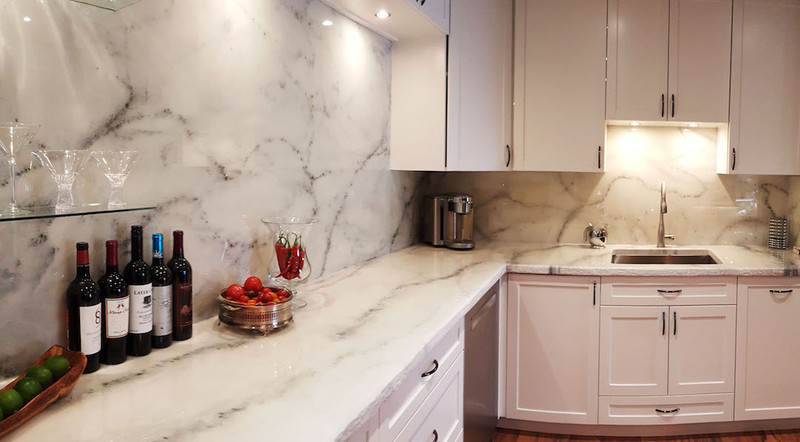
How do you update that pink tile backsplash in your kitchen without resorting to the long and tedious process of tile? Whether you are looking for a non permanent solution as a renter, or you are looking for a cheap custom faux stone backsplash for your kitchen, an epoxy backsplash is an excellent solution.
Epoxy has a quick creation and install process which can be applied to a backsplash board that you can easily take down if you are a renter and move on. Are you ready to create a faux stone backsplash? Let’s get started!
Here are the supplies you will need:
- MDF board
- Measuring Tape
- Table Saw (at your local home improvement store, they might be able to cut the MDF board to size.)
- Countertop Epoxy Color Kit
- Foam brush
- Foam roller
- Buckets
- Propane Torch
- 91% Isopropyl alchohol
- Spray bottles
- Tape
- Plastic Sheet
- Wood Glue (or a velcro kit)
(To make your supplies list easy, order the ProTops Tool Kit)

(Looking for a white marble backsplash? The White Marble Countertop Kit just might be the ticket for your project.)
Quick Install Epoxy Backsplash Instructions
Before you start your project, it is important that you ensure that the outdoor and surface temperatures are all between 70-75 degrees. Colder temperatures could prevent a hard cure and hotter temperatures will make the epoxy set too fast so you won’t have time to add your design.
There are plenty of ready made color sets in our countertop section that would be exciting to use for your space. Or you can design your own pattern by creating your own kit. Whichever look you choose, just remember to have fun!
Here are the step by step instructions to install your faux stone backsplash:
- Measure the exact square footage of your desired backsplash area.
- Cut your MDF board to the required square footage and order your epoxy. 1 gallon will cover 20 square feet for your backsplash area.
- Clean board and prep area for the epoxy pour. We recommend pouring this in an area where you cover the floor and table/sawhorse, with plastic sheeting, make sure to tape it down if this is over cabinets you would like to preserve.
- Mix epoxy for five minutes in one bucket with a paint stick and then transfer to secondary bucket and mix for an additional four minutes. This process insures that the mixture is well blended. If you do not follow this step carefully you could end up with a stick resin spot.
- Apply flood coat - Once you have added your colors to the epoxy you are ready to pour! Pour the flood coat and spread it using your foam brush or roller for an even coat.
- Add designs - Mix 2 oz of powdered dye with 1 quart of 91% isopropyl alcohol and spray the mixture over the countertop. You can also take epoxy mixed with different colors and using your paint stick apply veins.
- To pop any bubbles that may have occurred during the process us a propane torch and go over the surface making sure to continuously move the flame as you can burn the epoxy at this stage.
- Wait 48 hours to set.
- Install onto your backsplash using wood glue or a velcro kit so you can remove the piece at will!
Voila! Your faux epoxy backsplash is complete! This is the solution for renters who want to modernize their kitchen quickly.

