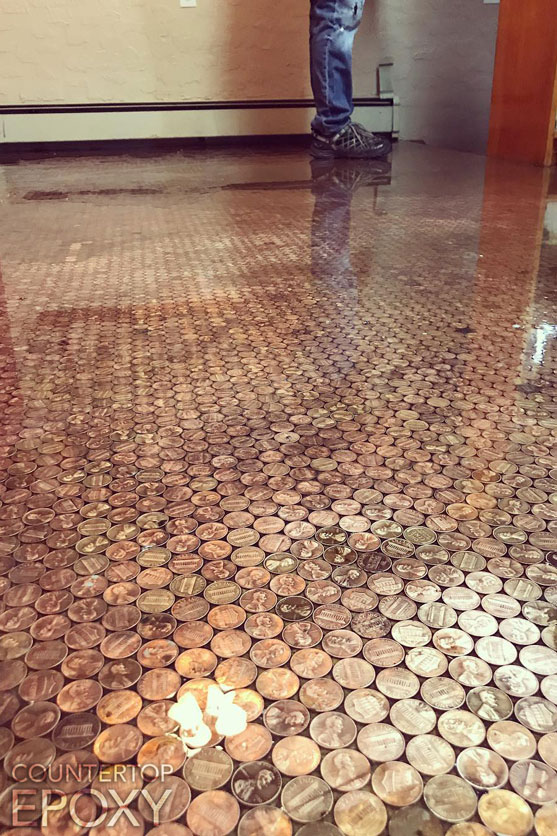
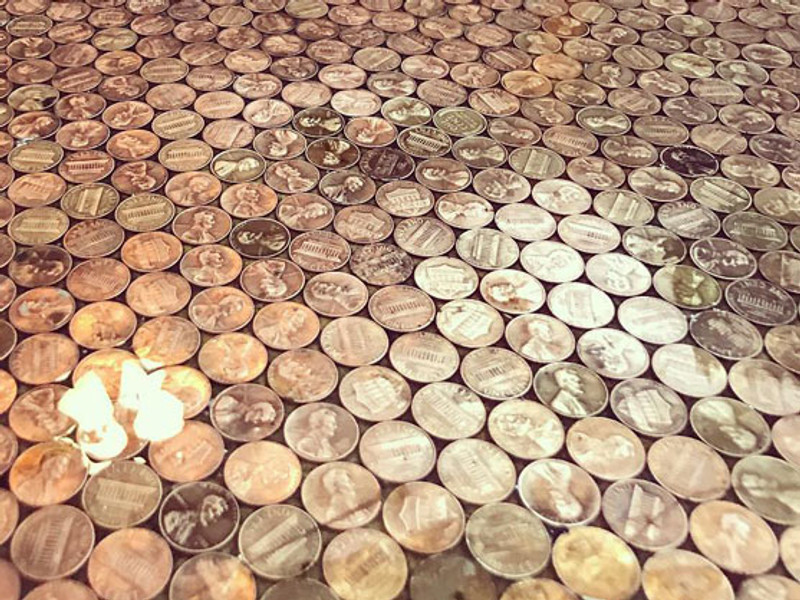
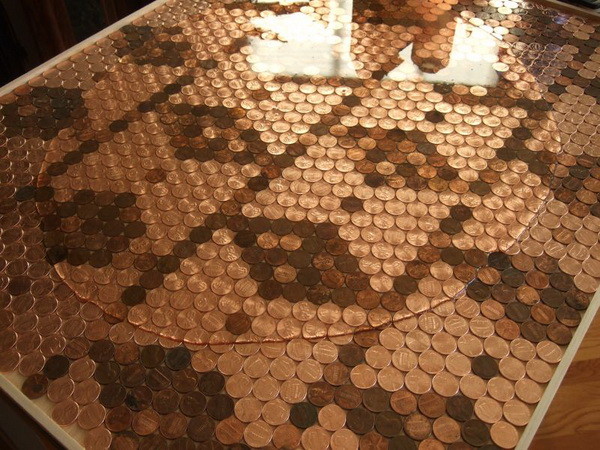
During your daily social media scroll, you may have come across the viral videos or photos featuring a floor, bar top, countertop or table top surface covered in pennies. Penny covered surfaces have become one of the most highly favored applications and wildly popular DIY projects across the web in the recent year. It’s undoubtedly an audience favorite and one of ours as well.

Like many others, when you come across the stunning photos or videos of a penny floor, countertop or table, one question usually comes to mind, How?
A penny surface consists of 4 components:
Adhesive, Pennies, Sealant, and lots and lots of time.
ADHESIVE
Did you know epoxy is an extremely effective adhesive? Because of epoxies ability to adhere to a variety of materials, the overall strength and solidity of epoxy make it the most widely used structural and engineering adhesive. Epoxy is used in a variety of applications from home repair, machinery repair, woodworking, carpentry, aerospace and even used in the making of automobiles, boats, and bicycles. For example, epoxies are used to reinforce and set bolts in concrete floors to stabilize heavy vibrating machinery and even for repairing damaged plumbing.
So, when going into your penny project, not only can you use epoxy as a sealant over your pennies, but you can also use epoxy to adhere them to your substrate. Try using epoxy as your adhesive and you won’t have to worry about shopping around for a certain glue that may or may not live up to the adhesive strength that’s needed.
PENNIES

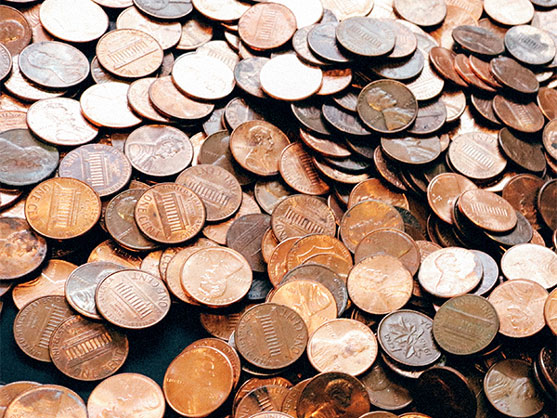
Collecting the pennies can be quite a task, start by saving all your loose change, asking friends or family, or visit your local bank to exchange your paper cash for pennies.
Per square foot of pennies, you’re looking at about $2.56 - $2.88 /sq. ft, depending on the pattern you decide to go with. Those traditional tile or plywood floors are looking a bit nicer now right? Overall, a penny surface is just money. Not only are they unique and gorgeous, but chances are, you’ll be the only person you know that has a penny floor or countertop. Make for a great conversation starter anytime guests come over.
SEALANT
Photo Credit: Remover and Replace. They made a beautiful Kitchen Penny Backsplash
After you’ve adhered your pennies, you’ll want to seal over them with a strong sealant, and what better sealant than epoxy? Epoxy provides a tough, protective coating with excellent hardness that will give your penny surface the durability it needs.
Check out our informative How-To video, showing the process of applying our flooring epoxy over a penny floor.
How to coat your penny floor with epoxy
TIME
Creating a penny surface is an extremely time-consuming project. Regardless of your design, the process is extensive and requires a lot of tedious work. Expect to spend hours if not a whole day laying your pennies, the results however make the long process extremely worthwhile.
That’s it! With those 4 components you’re ready to begin your DIY penny floor or countertop surface, and create a gorgeous mosaic masterpiece in your home.
Do you have any questions about epoxy application? Give us a call at 970.639.9338. We have the friendliest, most experienced staff in the industry. Our office is open Monday through Friday, 7am-7pm MST.


